
Hi, I’m
Amy Pottenger!
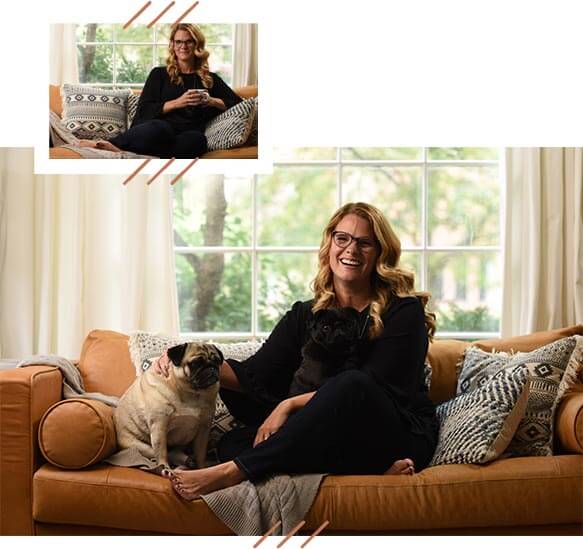
I know first hand what it’s like to be running a business while raising kids and cultivating a thriving marriage. It’s a lot.
It’s my mission to use my 15+ years of experience to create a lifeline for entrepreneurial mamas, helping them realize the homes of their dreams.
Join me
Read more
Before + After: Maximizing Space in a Tiny Bathroom
Are you working with a small bathroom footprint and have no idea how to fit in all the details that will make the space not only beautiful but also functional? Well keep reading my friend, because I’ll show you how we did it in our very own tiny bathroom space!
This little bathroom was in desperate need of an update for several reasons:
Shower: The shower leaked and was inoperable. It was *tiny* and claustrophobic. It was pink and didn’t quite fit the vibe of a relaxing bathroom space that I want to see every morning. The shower area felt like an afterthought of the bathroom, like it was thrown in there last minute.


Sink/Vanity: The sink space was outdated, had pretty much zero countertop area and was shoved over into an awkward corner. Not exactly optimal for two people sharing a bathroom. This bathroom has no natural light, and the lighting that was there wasn’t enough to light the space well.

Overall space planning: the door to the bathroom opened into the space, making things feel even more crowded and awkward, and there was a bulkhead taking up precious storage space with a small amount of cabinetry underneath it above the toilet area.

So here’s what we did to make the space functional + beautiful again:
(1a) I created a design plan! You don’t know where you’re headed without plans, drawings, material selections + a rough budget decided ahead of time so you don’t make decisions on the fly. Home renovations are challenging enough without stressing about choosing fixtures when the work is being done. Deciding ahead of time will save you time, money and sanity.
(1b) We hired an excellent contractor! Zaagman Home Remodeling did a great job implementing our design plans with their building/renovation expertise. In old homes, there are almost always crazy surprises waiting for you when you open up the walls, and we’re grateful to work with true professionals to help handle the unexpected. Hiring quality trades people should be next on your list!
(1) We doubled the shower size by expanding into corner of an adjoining bedroom. This didn’t take up too much real estate in the adjoining bedroom and created a fun little reading nook for our son.

(2) We were able to raise the ceiling about a foot to match the height of the bedroom ceiling, giving everything a more spacious feel.

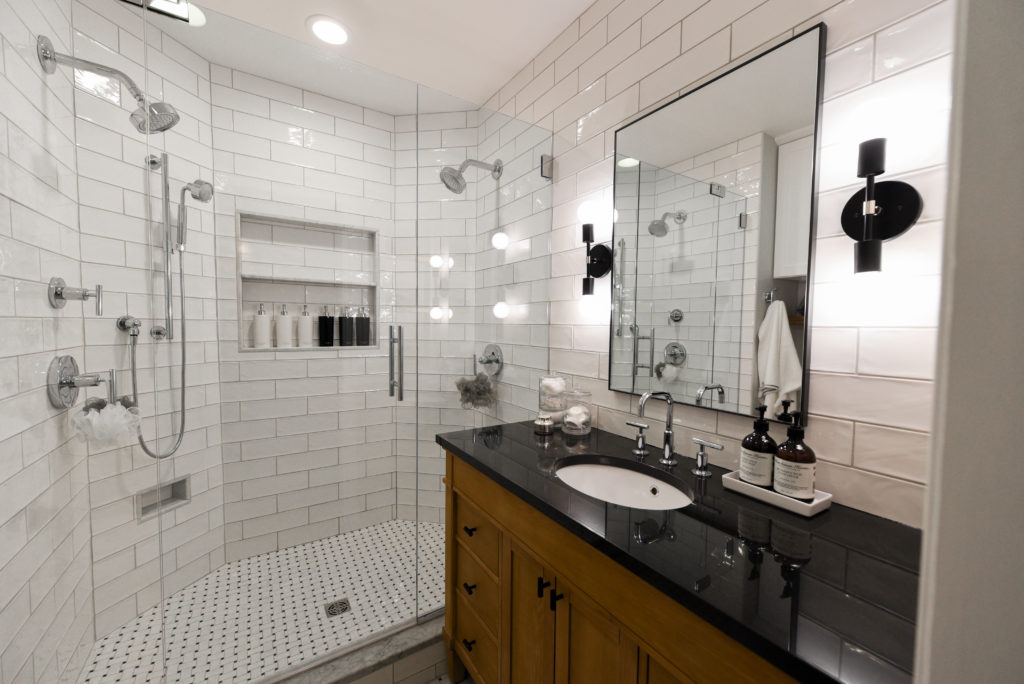
(3) We kept the color palette clean + classic. Lots of white to reflect light around the room and added interest with a textured wall tile. The house is a 1941 colonial so while we wanted to update and freshen things up, we also wanted to stay true to the character of the house.


(4) We added in a white oak vanity and white oak floating shelves to add some warmth to the black, white and gray space.

(5) Lighting! We put in two sconces on a dimmer, a shower light as well as a fan/recessed light combo to really brighten things up but give the ability for lower light in the early mornings or evenings.

(6) Two shower heads were added (hello, luxurious shower) plus a handheld fixture. (In a larger shower I always like adding a handheld fixture for flexibility and to use when cleaning the shower!)

(7) A generous marble-lined shower niche in the wall was added to accommodate all the personal care products. In a step to reduce visual clutter, we added the black and white product pumps to keep everything feeling calm + zen.

(8) Speaking of niches, another shower must-have is the foot niche, so you have a place to put your foot when shaving your legs!

(9) We more than doubled the bathroom’s storage by removing the bulkhead and building a custom cabinet to the ceiling to store towels and toiletries, and added the wood element to this side of the room too with another white oak floating shelf.


(10) Since the corner sink was removed, there was space for a 42″ vanity which provides much needed counter space. In the vanity cabinet, an outlet was wired in so a hair dryer and curling iron can be stored and easily accessed without taking up room on the counter.

(11) A wall niche was added next to the vanity for even more storage. The white oak shelves were stained to match the vanity.

(12) The door design was changed to a sliding door, so now there is no door swing to get in the way and the space feels much larger than it actually is.
So here’s the before + after combo once more, proving that you don’t necessarily have to move just because you have a small+ outdated en-suite bathroom! 🙂 Live refreshed, my friends!

Want to transform your own tiny or outdated space? A design consultation will get you headed in the right direction for your project and save you time, money and sanity in your home renovations!